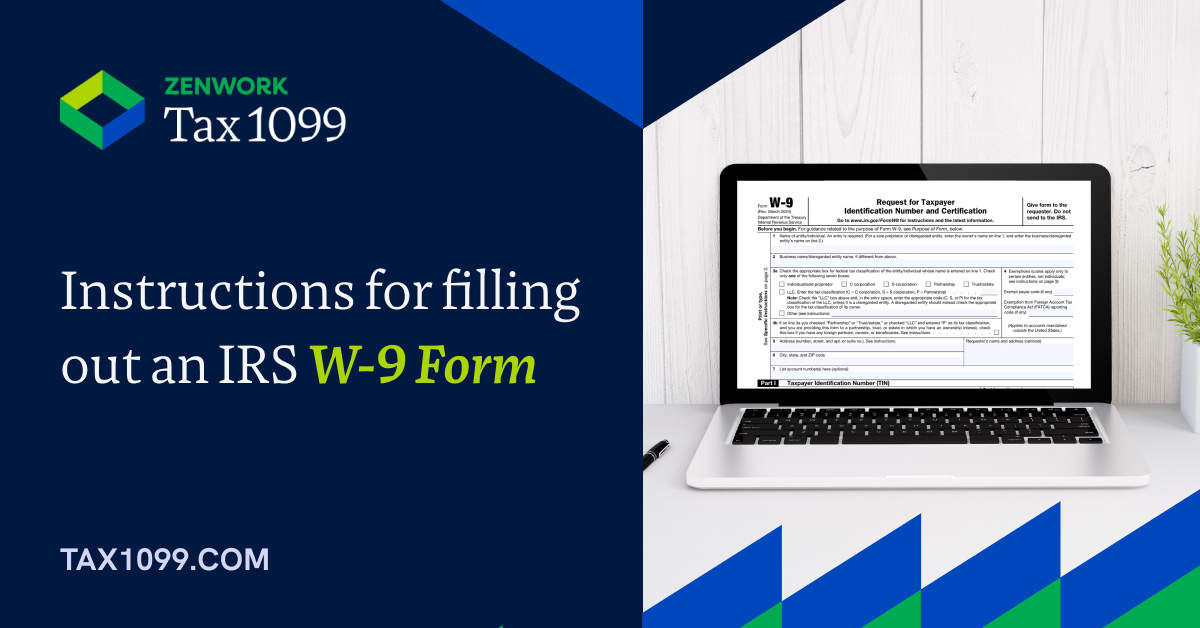
IRS Form W-9, officially titled Request for Taxpayer Identification Number (TIN) and Certification, is a fundamental tax document for businesses working with independent contractors, vendors, or freelancers. Completing this form ensures proper tax reporting and compliance with IRS regulations. This guide provides a detailed, line-by-line breakdown of how to complete Form W-9 2024 correctly.
What’s a w9 form?
While requesting W9 may seem like an added chore, it is extremely helpful when the payer (business) is about to file 1099 forms for their payees (vendors). The payer will also request W-9 under specific scenarios, which include mortgage interest payments, IRA contributions, dividend income, real estate transactions, and proceeds from investment sales.
Latest Updates in w9 forms 2024
The IRS released a draft Form W-9 in November 2023, introducing a new section called Line 3b. The finalized version, published in March 2024, split the original Line 3 into Line 3a and Line 3b to provide better clarity.
Key Revisions:
- Line 3a: It requires you to specify your federal tax classification, including:
- Individual/Sole Proprietor/Single-Member LLC
- C Corporation
- S Corporation
- Partnership
- Trust/Estate
- Limited Liability Company (LLC): You must specify whether it is taxed as an S Corporation, C Corporation, or Partnership.
- Line 3b: It must be checked if the entity has any foreign partners, owners, or beneficiaries. This applies when the entity is classified as a Partnership, Trust, or Estate or an LLC taxed as a partnership.
Form W9 Filing Instructions
To understand and file accurately, follow these w9 filing instructions (step-by-step):
Step 1: Enter Your Name (Line 1)
Enter the legal name that matches your Social Security Number (SSN) or Employer Identification Number (EIN) on your tax return.
Common Mistakes to Avoid:
- Using a nickname or trade name instead of your legal name.
- Entering a name that does not match IRS records, which may trigger withholding issues.
Step 2: Enter Your Business Name (Line 2- If Applicable)
If you have a business name different from your legal name, enter it here.
Examples:
- If you operate under an LLC but have a personal legal name, enter your LLC’s name.
- If you are a sole proprietor, this field is optional unless you have a registered DBA (Doing Business As) name.
Step 3: Select Your Federal Tax Classification (Line 3)
Check the box that corresponds to your tax classification. Options include:
- Individual/Sole Proprietor or Single-Member LLC
- C Corporation
- S Corporation
- Partnership
- Trust/Estate
- Limited Liability Company (LLC)– If selected, specify whether your LLC is taxed as a partnership, C-corp, or S-corp.
Common Mistakes to Avoid:
- Selecting multiple classifications.
- Choosing LLC without specifying tax classification.
Step 4: Exemptions (Line 4- If Applicable)
- If you are exempt from backup withholding, enter the appropriate code from the IRS instructions.
- If you are exempt from FATCA reporting, enter the relevant code (typically used for international entities).
Who Might Use This?
Certain corporations, government agencies, or tax-exempt organizations.
Step 5: Enter Your Address (Line 5 & 6)
- Provide your current mailing address where tax forms (like W9 tax form 2024) should be sent.
- Ensure accuracy to avoid delays in receiving tax documents.
Pro Tip: Use your business address if you prefer tax-related mail sent there.
Step 6: List Your Taxpayer Identification Number (TIN) (Part I)
- If you are an individual or sole proprietor, enter your Social Security Number (SSN).
- If you are a business entity, enter your Employer Identification Number (EIN).
Common Mistakes to Avoid:
- Providing an incorrect or mismatched TIN (this can result in IRS backup withholding of 24%).
- Leaving this section blank can delay payment processing.
Step 7: Certification (Part II)
- Read the certification carefully.
- Check that your TIN is correct and that you are not subject to backup withholding (unless notified by the IRS).
- Sign and date the form.
Common Mistakes to Avoid:
- Forgetting to sign the form, which can make it invalid.
- Signing if subject to backup withholding without properly disclosing it.
Submitting Form W-9
- Send the completed W9 fillable form directly to the requester (the business, client, or payer), not the IRS.
- Keep a copy for your records.
- Use an IRS-authorized eFile provider like Tax1099 to ensure secure transmission as it contains sensitive tax information.
Key Takeaways for Businesses
- Always request a completed W-9 before making payments to independent contractors or vendors.
- Verify the TIN and name match IRS records to avoid tax reporting errors.
- Use W-9 information to prepare Forms 1099-NEC or 1099-MISC for tax filing.
- Store W-9 forms securely to protect sensitive taxpayer information.
By following these step-by-step instructions, businesses can ensure proper tax compliance and avoid unnecessary IRS penalties. If you need a blank W9 or a fillable W9, download the latest W9 2024 form from the IRS website or a trusted provider like Tax1099.
With Tax1099, filling out Form W-9 and sharing it with the payers is easier than ever. Tax1099’s Form W9 manager is designed to help complete and submit a W-9 to payers quickly and easily! Businesses that need a solution for requesting and collecting W-9 Forms from their independent contractors, vendors or gig workers can use Tax1099’s efficient and easy-to-use Form W-9 Manager.
Ready to get started?
Create your free Tax1099 account today and navigate to the W-9/W-8 tab in your dashboard!